Thursday, February 28, 2013

February 24: Peanut Butter Rocky Road Bars

Peanut Butter Rocky Road Bars

Base
8 tablespoons (4 oz) unsalted butter
3 tablespoons unsweetened natural cocoa powder
1 cup granulated sugar
3/4 cup (3.4 oz) all-purpose flour
1/2 teaspoon salt
2 large eggs
1/2 teaspoon vanilla extract

Topping
3/4 cup creamy peanut butter
2 cups mini marshmallows
2/3 cup semi-sweet chocolate chips
1/3 cup lightly salted peanuts
Milk or dark chocolate, for melting and drizzling

1. Preheat the oven to 350 and place a rack in the center. Line a 9 inch square pan with nonstick foil.
2. Make the base: In a microwave safe mixing bowl, microwave the butter on high for 30 seconds, or until melted. Stir in the cocoa powder and let the mixture cool. When cool, stir in the sugar, flour, salt and mix with a wooden spoon. Add the eggs, one at a time, and beat with the spoon, and then beat in the vanilla until the mixture is well-blended. Pour into the prepared pan. Bake for 20 minutes, or until the top appears set. Let cool in the pan for about 10 minutes.
3. Make the topping: Soften the peanut butter for 8 to 10 seconds on high in the microwave and spread it over the brownies. Sprinkle the marshmallows, chocolate chips and peanuts over the peanut butter layer. Return the pan to the oven and bake for 3 to 4 minutes, or just until the marshmallows puff up. Let cool in the pan. If desired, melt some milk or dark chocolate in the microwave using 50% power. Drizzle the melted chocolate over the rocky road topping. Let cool completely and then chill. When chilled, lift from the pan, set on a cutting board, and cut into 16 squares.


Melted peanut butter is so easy to spread!


I should probably work on my artistry skills!

Thoughts: I broke down and bought a 9 inch square pan for this recipe.  After the cream cheese brownies almost overflowed due to being stuffed into a smaller pan, I decided to buy one.  I really prefer glass pans but it is what Target had and I didn't feel like going somewhere else.  I used semi sweet chocolate chips for the melted chocolate on top.  I put about 1/2 cup worth in a glass measuring cup and waited until it melted and poured it on top. Then I used a knife to spread it out.  We weren't crazy about these bars.  They were very gooey.  Patrick thought that they were pretty gross and I thought that the brownie base was pretty bland.

This Week's Concoctions Ending 2/26

Things have been kind of crazy this week because my mother-in-law was moving so here is the one highlight that I made this week other than the "Weekly Cookie"

Ham with Apples
This is one of my favorite recipes (and meat). For years, I thought that I had a pork allergy so it wasn't until I was an adult that I had ham...and I loved it.  I probably could have ham every day (not deli ham).  This recipe is very simple.  It requires 1 can of apple pie filling, cinnamon and a ham (dinner, 1/2 ham, whole ham).  Put the ham in the slow cooker, a pinch of cinnamon and the can of apple pie filling on top and 7-8 hours later....its done!

Tuesday, February 19, 2013

February 18: Frozen Mousse Balls

Frozen Mousse Balls

Ingredients:

9 oz milk chocolate, or 1 1/2 cups milk chocolate chips
1 (12 oz) tub frozen whipped topping, thawed
2 cups vanilla wafer or graham cracker crumbs

1. Melt the milk chocolate in the microwave in a large, microwave-safe bowl, using 50% power and stirring every 30 seconds, or until the chocolate is fully melted. Let the chocolate cool for about 10 minutes, and then fold in the whipped topping. Cover the bowl and chill for about 1 hour, or until thick enough to handle. Shape the mixture into 1 inch balls and then roll them in the crumbs. Lay the balls on a large, parchment-lined cake pan and freeze for a few hours, or until ready to eat. Serve frozen.

I used 3 Fresh Stacks packs and it yielded just under 2 cups


This picture makes it look like 2 cups!


I was making them a little large because I wanted it over with! It was so messy!


Thoughts: This was another annoying "cookie" to make.  I put the whipped chocolate mixture in the fridge for 90 minutes and another 30 in the freezer and they were still not really hard.  Because I was running out of time, I just molded them anyway but they were very soft and it was very messy. However, once they are rolled in the crumbs, it becomes easier.  I had a little less than 2 cups  of graham cracker crumbs, which made me a little nervous, but it turned out fine and I still had some leftover. The taste was good...Patrick really liked them. They were good but if I had to do them over again, I would want a stronger chocolate flavor.

Monday, February 18, 2013

This Week's Concoctions Ending 2/17

Here are some highlights of items that I made this week other than the "Weekly Cookie"

Deviled Crab Tarts

Southwest Meatloaf...not very spicy

Valentine's Day Cake for my co-workers

Monday, February 11, 2013

This Week's Concoctions Ending 2/10

Here is the 1 highlight that I made this week other than the "Weekly Cookie". (It's been a slow, routine week of baked chicken, salads, etc.)

Pesto Stuffed Shells

February 10: Favorite Cream Cheese Brownies

Favorite Cream Cheese Brownies

Ingredients:

Filling
12 oz cream cheese, softened
2 tablespoons sour cream, room temperature
3 tablespoons granulated sugar
1 teaspoon vanilla extract
1 large egg white, lightly beaten with a fork

Brownie Base
1 1/2 cups extra dark or bittersweet chocolate chips
1 cup (8 oz) unsalted butter
1 1/2 cups granulated sugar
3 large eggs, room temperature
2 teaspoons vanilla extract
1 cup (4.5 oz) all-purpose flour
1/2 teaspoon salt

1. Preheat the oven to 350 and place a rack in the center. Line a 9 inch square metal pan with nonstick foil or line it with regular foil and spray the foil with nonstick baking spray.
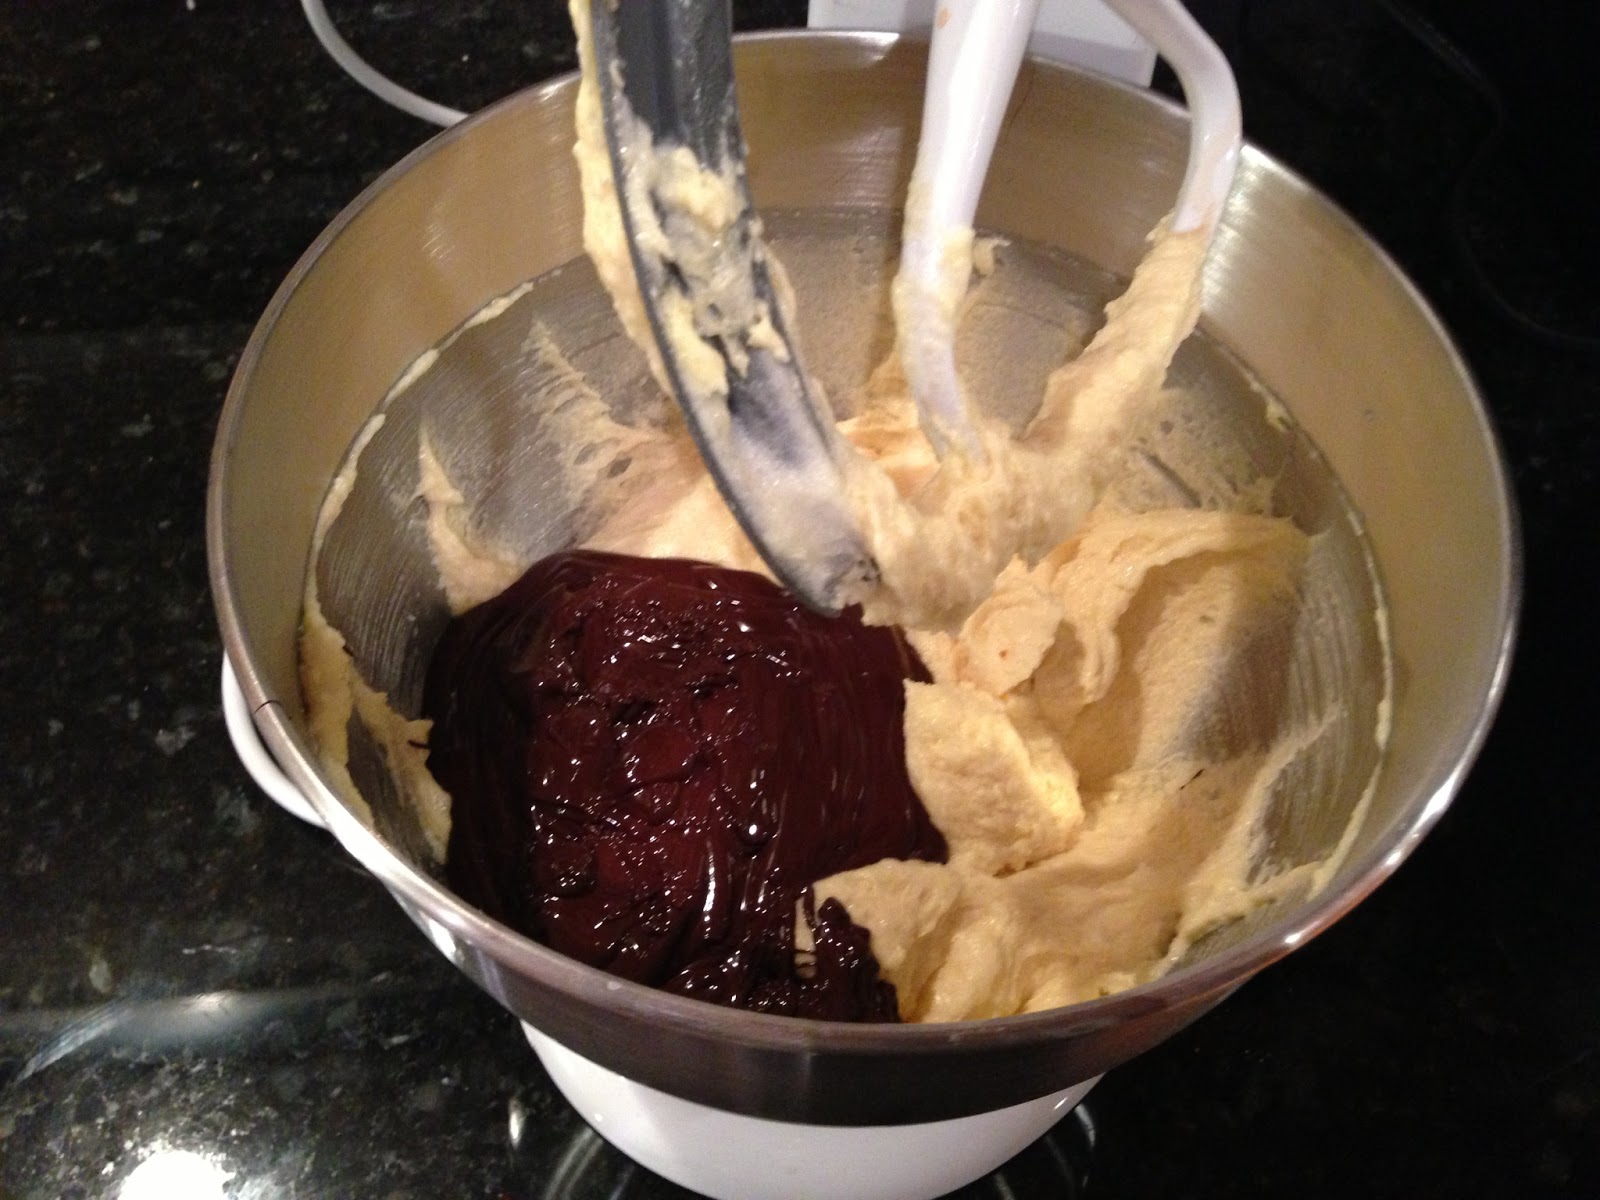
2. Make the filling: In the bowl of a stand mixer fitted with a paddle attachment, or in a large mixing bowl, using a handheld mixer, beat the cream cheese, sour cream, and sugar on medium speed until light and fluffy. Reduce the speed of the mixer and beat in the vanilla and egg white, beating just until mixed. Set aside.
3. Make the brownie base: Put the chocolate in a medium sized, microwave safe bowl and melt in the microwave, using 50% power and stirring every 40 to 60 seconds. Set aside to cool slightly.
4. In the bowl of a stand mixer or in a large mixing bowl, using a handheld electric mixer on medium-high speed, beat the butter and sugar until creamy. Reduce the mixer speed and add the eggs, one at a time, followed by the vanilla and melted chocolate. By hand or using the lowest speed of the mixer, stir in the flour and salt.
5. Scrape all but about 1 cup of the chocolate batter into the prepared pan and smooth it out. Spread the cream cheese filling over the chocolate mixture. Spoon the remaining chocolate batter over the cream cheese mixture. Pull a table knife through the layers of batter with a light lifting motion to create a marbled look.
6. Bake for about 50 minutes. Let cool completely in the pan, then chill for a few hours, or if you have the time, overnight. Lift the foil from the pan, set on a cutting board, peel back the foil, and cut with a chef's knife into 16 squares.

I never usually use foil, just baking cooking spray
Last step in the making the filling
Exploding!

Thoughts: The biggest thing that I did differently from the recipe was using a 8x8 pan instead of a 9x9.  I don't have one and thought it was stupid to buy a pan just for this cookie (even though I did buy an angel food cake pan for the 2 co-workers that request that cake every year).  This recipe would be better suited for a 9x9 or even a 11x7.  I made the cooking time longer (60 minutes to account for the difference and was worried that the brownie part was undercooked). I also didn't create the marble look just because I forgot about it.  I put it in the fridge overnight and the center imploded in the morning.  These are definitely the best "cookie" so far. We LOVED them!

Monday, February 4, 2013

This Week's Concoctions Ending 2/3

Here are some highlights of items that I made this week other than the "Weekly Cookie"

Strawberry Cheesecake for a co-worker's birthday

"Revel Bars" for a co-worker's birthday

February 3: Chinese Almond Cookies

Chinese Almond Cookies

Ingredients:

3 cups (13.5 oz) sifted all purpose flour
1 1/2 teaspoons baking soda
3/4 teaspoon salt
1 cup (8 oz) unsalted butter, room temperature
1 cup granulated sugar
1 large egg
1/4 cup light corn syrup
1 tablespoon almond extract
1/4 teaspoon vanilla extract
48 whole almonds, blanched or with skins

1. Preheat oven to 375 and place a rack a rack in the center. Line two baking sheets with parchment paper or nonstick foil.
2. Mix the flour, baking soda and salt together in a medium-sized bowl; set aside.
3. In the bowl of a stand mixer fitted with a paddle attachment, or in a large mixing bowl, using a handheld electric mixer, beat the butter and sugar on medium speed until light and creamy. Reduce the speed slightly and beat in the egg, corn syrup, almond extract, and vanilla. Using the lowest speed of the mixer, stir in the flour mixture until its completely incorporated.
4. Scoop up rounded teaspoonfuls of dough and arrange about 2 1/2 inches apart on the prepared baking sheets. Top each cookie with a whole almond. Bake one sheet at a time for 10-12 minutes, or until the cookies are browned around the edges. Let cool on the baking sheets for about 4 minutes, then transfer to a wire rack to cool completely.


I thought a teaspoon would be too small so I used a 1/2 tablespoon.


I don't really like cookies this dark so...

Reduce a minute or two and they come out lighter!

Thoughts: This recipe was pretty straightforward and only needed minor adjustments.  The first batch I baked at 11 minutes and although they weren't burnt, I thought they came out too dark. So I reduced the baking time to 9 minutes.  I work with a double oven so the top oven's batches came out much lighter at 9 minutes and the lower oven's batches came out only slightly lighter. We tasted and thought they were pretty good although we both would've preferred the cookie without the actual almond on top. My dad was over while I was baking and referred it to it as an "adult cookie" due to its lack of being overly sweet.